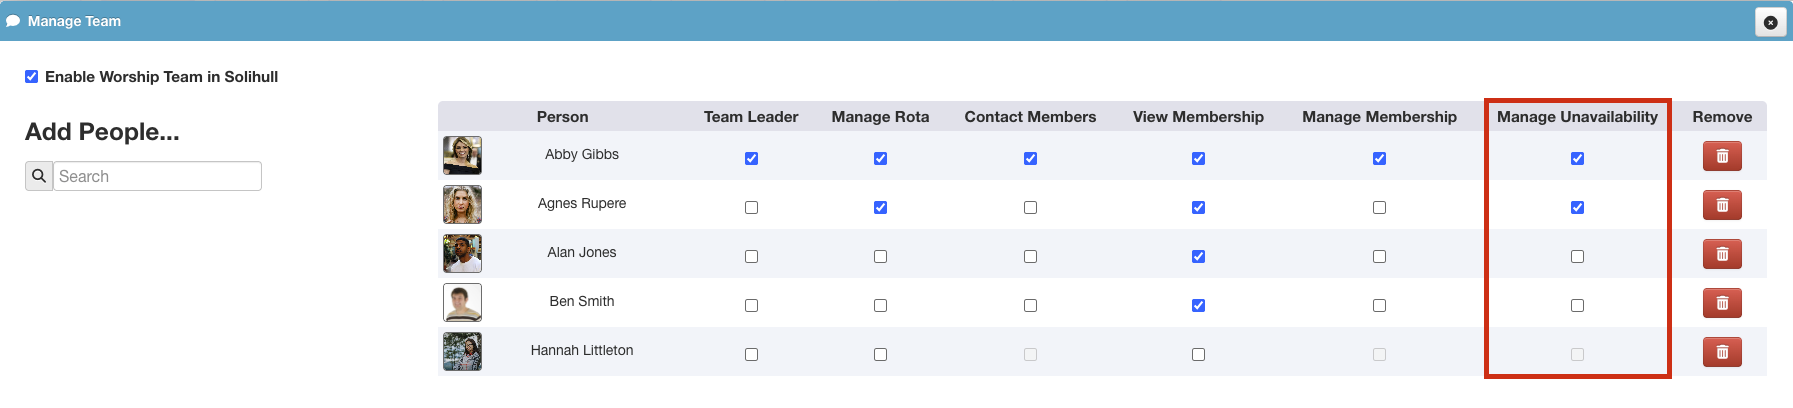
If we have been given permission to Manage Unavailability for our team, we will be able to add periods of unavailabilty for other members of the team.
To Manage Unavailability, we will need to go to Teams, click the Team that the person is a member of and click the Unavailability tab.
The Team Member Filters section will allow us to see all the members of the team and select which members we wish to view in the Unavailability calendar.
We will see any unavailability that has already been added, in the calendar, and we can add new unavailability by clicking the green plus button in the top right of the date we wish the unavailability to begin.
We'll then need to search for the team member we're adding unavailability for, click their name, and add the start and end dates for the unavailability. Their unavailability will then be added to the calendar.
If we have added the unavailability ourselves, we'll be able to click on the person's name, in the unavailability calendar, to make changes.
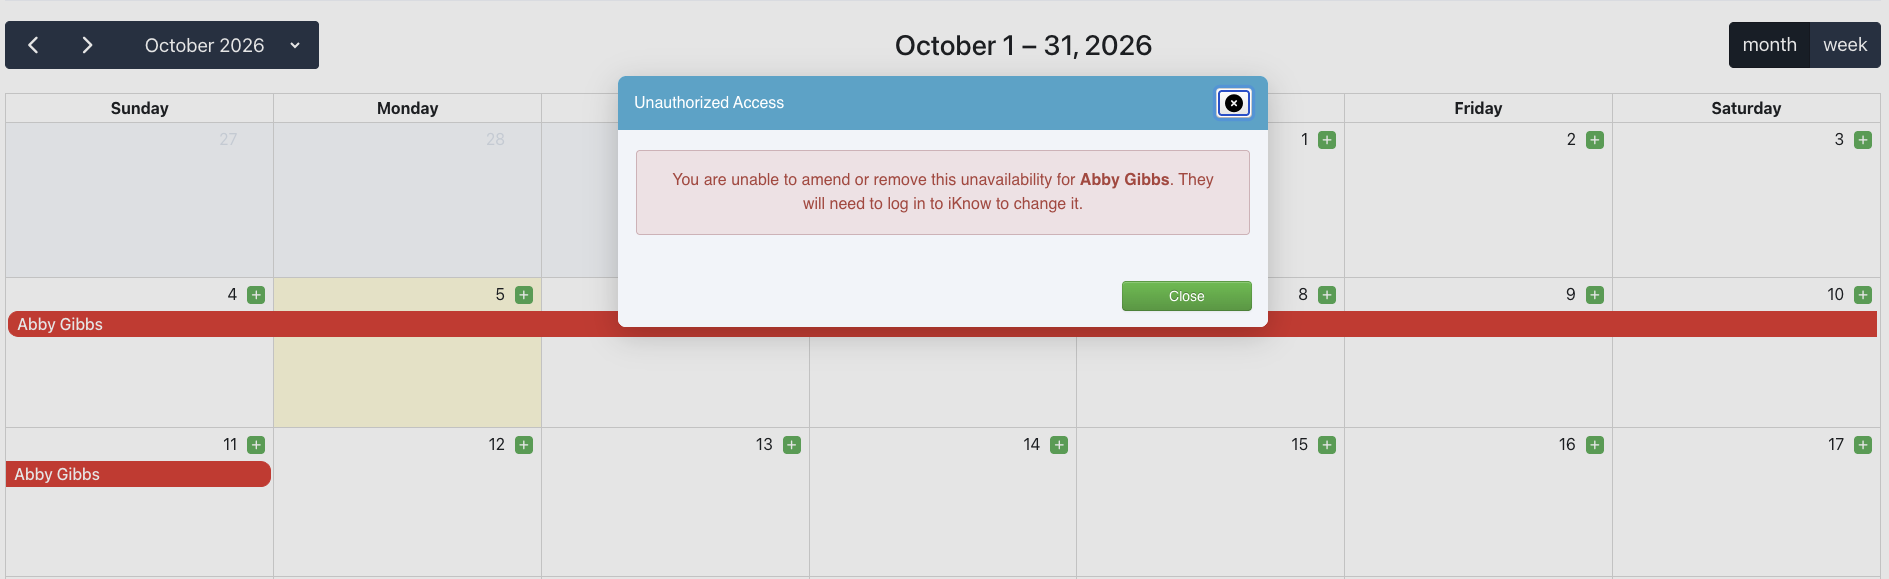
If the person has added their own unavailability through their profile, although we can see it, we won't be able to make any changes.